In the bustling world of DIY and home improvement, tools are a craftsman’s best friends. Yet, like a toddler with crayons, they can quickly turn a pristine workshop into complete chaos. If your tools resemble a tangled mess reminiscent of spaghetti, don’t panic.Organizing your workshop is easier (and far more fun) than you might think. Whether you’re a weekend warrior or an everyday handyman, this guide will take you from cluttered to organized faster than you can say ‘Where did I put my hammer?’ Let’s roll up those sleeves and jump into the world of organization, your future self will thank you.
Assessing Your Workshop Space
Before diving into organization strategies, take a moment to assess your workshop space. Consider the layout, dimensions, and existing storage solutions. Is there enough room for all your tools? How often do you need to access them? Mark off specific zones for different tasks, like woodworking, metalworking, or general repairs. Think about traffic flow too. You want your workspace to inspire creativity, not chaos.
Key Considerations
- Evaluate the Size: Determine how much space you have and how many tools you need to accommodate.
- Identify Traffic Patterns: Note how you move around the space and adjust your layout accordingly.
- Look for Multi-Use Areas: Can the same area serve multiple purposes? Would a wall-mounted workstation work?
Once you have a solid grasp of your tools’ new home, you can begin to lay the groundwork for organization.
Identifying Your Tools
Next up, it’s time to identify what tools are cluttering your workshop. This is the part where you might uncover that long-forgotten paint sprayer or that drill you swore you’d never lose.
Tool Categories
- Hand Tools: Hammers, screwdrivers, wrenches, everything you use with your hands.
- Power Tools: Drills, saws, sanders, these gadgets need special care and storage.
- Consumables: Think screws, nails, and sandpaper. They multiply like rabbits.
Create an Inventory: Write down every tool you own or use regularly. This helps you recognize duplicates and decide what you can donate or toss. By knowing what tools you have and how often you use them, your organization efforts will become far more effective.
Choosing the Right Storage Solutions
With categories and an inventory in hand, the next step is choosing storage solutions that suit your needs. Think beyond traditional toolboxes and let your creativity flow.
Popular Storage Options
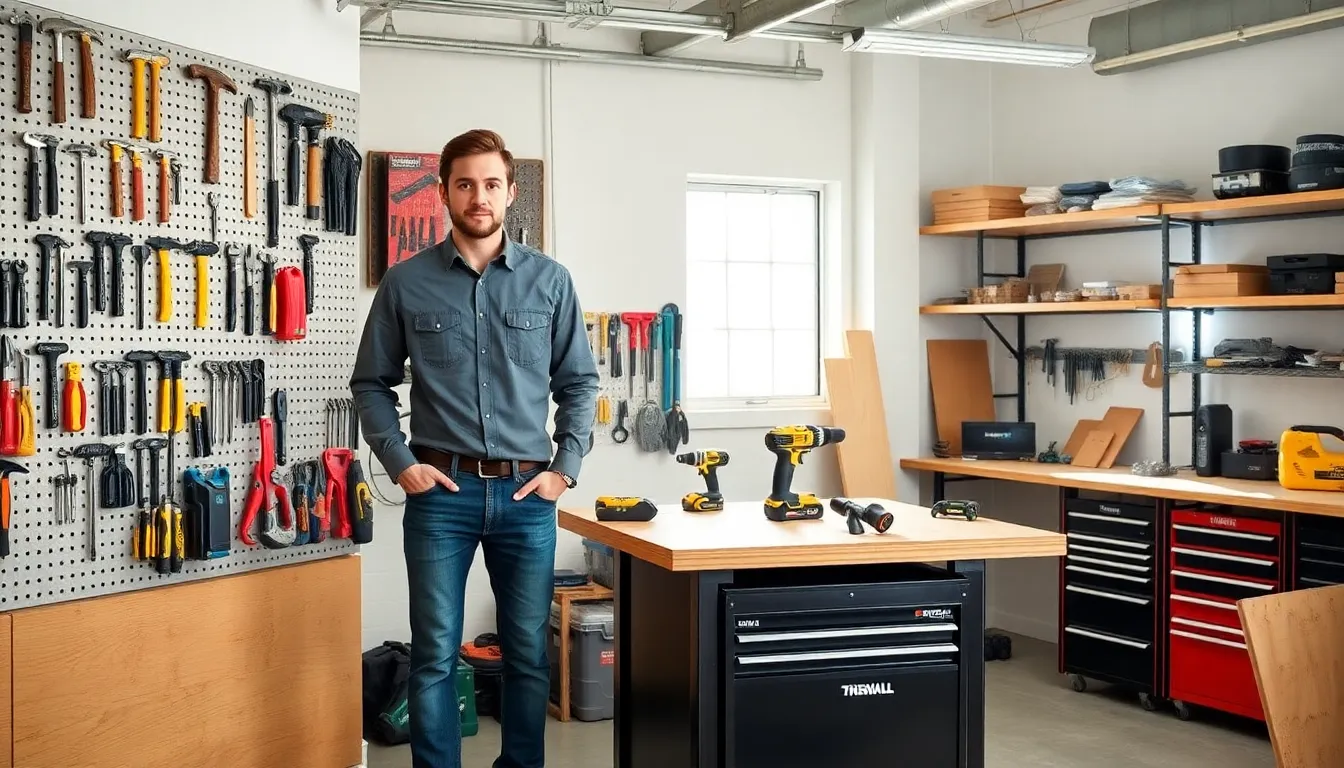
- Shelving: Great for large, bulky tools or storage bins.
- Pegboards: These wall-mounted beauties are versatile for organizing hand tools. Plus, they make everything easy to see at a glance.
- Tool Chests: Perfect for organizing small items and offering portability.
- Drawer Organizers: Tailor your drawers to host specific tools, preventing chaos in your storage.
Tip for Selection
The right storage solution depends on your space and tool types. Consider visibility and accessibility, if you can’t see your tools, you’re less likely to use them, right?
Implementing a Tool Organization System
Now that you’ve assessed your space and identified your tools, it’s time to carry out that organization system. It should reflect how you work best. What makes sense for one person might not fly for another.
Steps to Organize
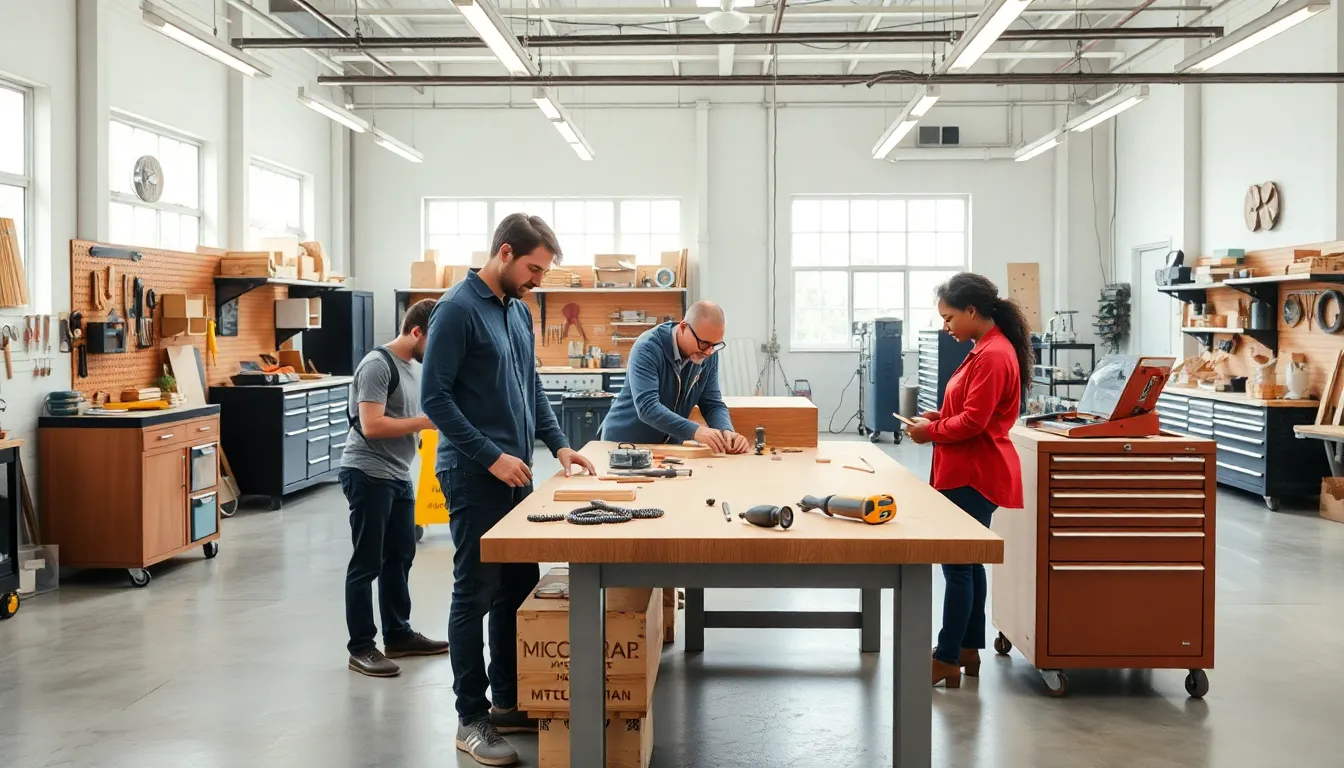
- Create Zones: Place tools in designated areas based on their function. For instance, keep all your woodworking tools together.
- Use Labels: Simple labels can turn a jumbled mess into an easily navigable storage system.
- Keep Frequently Used Tools Accessible: Place them within arm’s reach. This minimizes clutter and increases efficiency.
- Establish a System for New Tools: Make it a habit to find a spot for any new tool and update your inventory accordingly.
An organized workshop isn’t just about aesthetics: it actually supports productivity.
Maintaining Your Organized Workshop
Congratulations. You’ve organized your workshop, but the work isn’t done yet. Maintaining that order is key to long-term success.
Tips for Keeping Tools Accessible
- Regular Clean-Ups: Set a schedule for periodic clean-ups, weekly, monthly, whatever works best for you.
- Adopt a One-In-One-Out Policy: For every new tool, consider letting go of an old one to prevent clutter from building up again.
- Stay Mindful of Your Inventory: Regularly check your inventory and adjust your storage solutions as needed.
A few minutes each week can save hours of frustration later. An organized workshop leads to a seamless workflow.
Benefits of an Organized Workshop
Everyone knows that organization is key, but what are the real benefits of maintaining an organized workshop? Here’s the scoop:
Advantages
- Increased Productivity: Knowing where everything is helps streamline tasks. You spend less time searching for your screwdriver and more time getting things done.
- Enhanced Safety: A neat workspace reduces the risk of accidents. Tools stored properly minimize tripping hazards.
- Longer Tool Life: Properly stored tools tend to last longer. With limitations on exposure to dust and the elements, they perform better over time.
Investing time into organization yields dividends across all facets of your DIY projects.