Luxury vinyl plank (LVP) flooring has become the go-to choice for homeowners who want the look of hardwood without the maintenance headaches or sticker shock. It’s waterproof, durable, and, best of all, entirely manageable for a competent DIYer. Unlike tile or hardwood, which demand specialty tools and experience, vinyl plank flooring installation is forgiving enough for weekend warriors but professional-looking enough to add real value to a home. This guide walks through the complete luxury vinyl plank flooring installation process, from subfloor prep to that satisfying final plank click.
Table of Contents
ToggleKey Takeaways
- LVP flooring installation is a manageable DIY project with click-lock systems that require no glue or nails, making it faster and more forgiving than hardwood or tile.
- Proper subfloor preparation—including cleaning, leveling to no more than 3/16-inch variation over 10 feet, and securing loose boards—determines success or failure of your LVP flooring installation.
- A vinyl plank cutter eliminates dust and delivers clean cuts, but a sharp utility knife with a straightedge works fine for most budget-conscious DIYers tackling smaller spaces.
- Stagger end seams by at least 6 to 8 inches between rows and avoid narrow slivers under 2 inches, as these look cheap and compromise the integrity of your luxury vinyl plank floor.
- Maintain expansion gaps of ¼ inch around the perimeter and under transitions to prevent buckling when LVP expands with temperature changes, and use transition strips at doorways and room changes for a professional finish.
- Most luxury vinyl flooring installation failures stem from skipping subfloor prep or rushing the layout phase, so invest extra time in these critical steps to ensure a durable, attractive floor that resists moisture and heavy traffic.
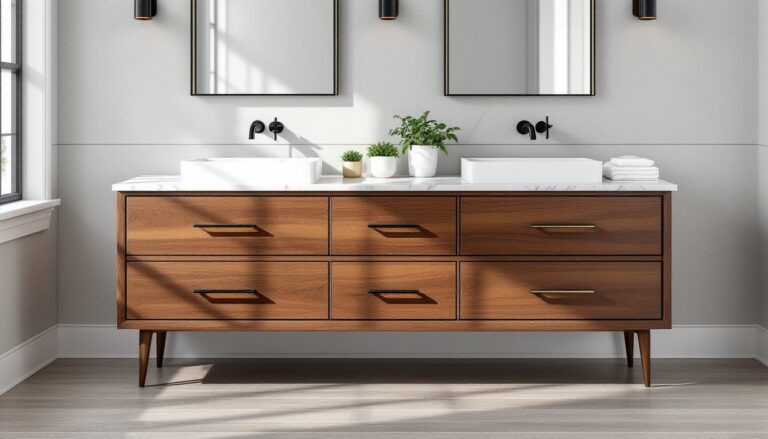
What Is LVP Flooring and Why Choose It?
LVP flooring (luxury vinyl plank) is a multi-layer synthetic flooring product designed to mimic wood, stone, or tile. It typically consists of a wear layer, a printed design layer, a rigid core (often WPC or SPC), and a backing layer. The “luxury” designation refers to thicker construction, better print quality, and more realistic embossing compared to standard vinyl sheet goods.
Homeowners choose LVP for several practical reasons. It’s 100% waterproof, making it ideal for kitchens, bathrooms, and basements where moisture is a concern. The wear layer (measured in mils, typically 12 to 20 mil for residential use) resists scratches, scuffs, and stains far better than laminate or engineered hardwood. Installation is straightforward: most LVP uses a click-lock system that snaps together without glue or nails, which means no acclimation time and faster project completion.
LVP also handles minor subfloor imperfections better than rigid materials. While you still need a reasonably flat surface, small divots or surface variations won’t crack planks the way they might with ceramic tile. Cost-wise, expect to pay $2 to $7 per square foot for materials (mid-grade product), depending on thickness, core type, and finish quality. That’s competitive with mid-range laminate but significantly cheaper than solid hardwood.
One caveat: LVP is not repairable in the way hardwood is. Scratches through the wear layer are permanent, and you can’t sand and refinish. But for high-traffic areas or homes with kids and pets, the trade-off in durability and maintenance usually wins.
Essential Tools and Materials for LVP Installation
Vinyl flooring installation doesn’t require a workshop full of specialty gear. Most tools are common or inexpensive, and you can complete an average room in a weekend with basic equipment.
Materials:
- LVP planks (order 10% extra for waste and future repairs)
- Underlayment (if not attached to planks, check manufacturer specs: many LVP products have integrated padding)
- Transition strips and t-molding for doorways and room changes
- Floor patching compound or self-leveling underlayment for subfloor repairs
- Spacers (¼-inch or per manufacturer recommendation for expansion gaps)
Tools:
- Tape measure and chalk line for layout
- Utility knife with fresh blades (for scoring and snapping planks)
- Vinyl plank cutter or multi-tool (optional but speeds up cuts significantly)
- Circular saw or miter saw (for rip cuts and angled cuts around door casings)
- Tapping block and pull bar (to close joints without damaging edges)
- Rubber mallet (light taps only, over-hitting can crack the tongue)
- Pry bar for removing baseboards
- Floor scraper or putty knife for subfloor prep
Safety Gear:
- Knee pads (you’ll be on the floor for hours)
- Safety glasses (especially when cutting with power tools)
- Dust mask (if grinding or sanding old subfloor)
A vinyl plank cutter, sometimes called a guillotine cutter, is worth renting or buying if you’re doing multiple rooms. It delivers clean, square cuts in seconds and eliminates dust. But a sharp utility knife and straightedge work fine for most jobs: score the face, bend, and snap.
Preparing Your Subfloor for Success
Subfloor prep is where most DIY flooring projects succeed or fail. LVP is forgiving, but it won’t hide major flaws, and a poor base will telegraph through as squeaks, gaps, or uneven seams.
Step 1: Remove Existing Flooring and Trim
Pull up old carpet, padding, or vinyl. Remove baseboards carefully if you plan to reuse them. Use a floor scraper to eliminate glue residue, tack strips, or staples. If the existing floor is thin, stable vinyl or linoleum in good condition, you can install over it, but only if it’s fully adhered and level. When in doubt, rip it out.
Step 2: Clean and Inspect
Sweep and vacuum thoroughly. Debris under LVP will create annoying clicks and crunches. Inspect for moisture issues, especially over concrete slabs. Tape a 2×2-foot piece of plastic sheeting to the floor and check after 24 hours: condensation on the underside means you need a vapor barrier or moisture-mitigation product.
Step 3: Check for Level and Flatness
Use a 4-foot or 6-foot level to identify high and low spots. The industry standard for LVP is no more than 3/16-inch variation over 10 feet, though some manufacturers specify 1/8 inch over 6 feet. Check your product’s installation guide.
- High spots: Grind down with a concrete grinder (for concrete) or sand/plane (for wood).
- Low spots: Fill with floor patching compound or self-leveling underlayment. Pour, spread with a trowel, and let cure per label instructions (usually 24 hours).
Step 4: Secure Loose Subfloor
On wood subfloors, drive screws (not nails) into loose boards to eliminate squeaks. Screws should hit joists, use a stud finder or look for existing fastener lines. Add construction adhesive under edges if boards are badly cupped.
Step 5: Install Underlayment (If Required)
Many luxury vinyl flooring products come with attached underlayment. If yours doesn’t, roll out a thin foam or felt underlayment perpendicular to plank direction. Butt seams tightly and tape with moisture-resistant tape, don’t overlap, as this creates high spots.
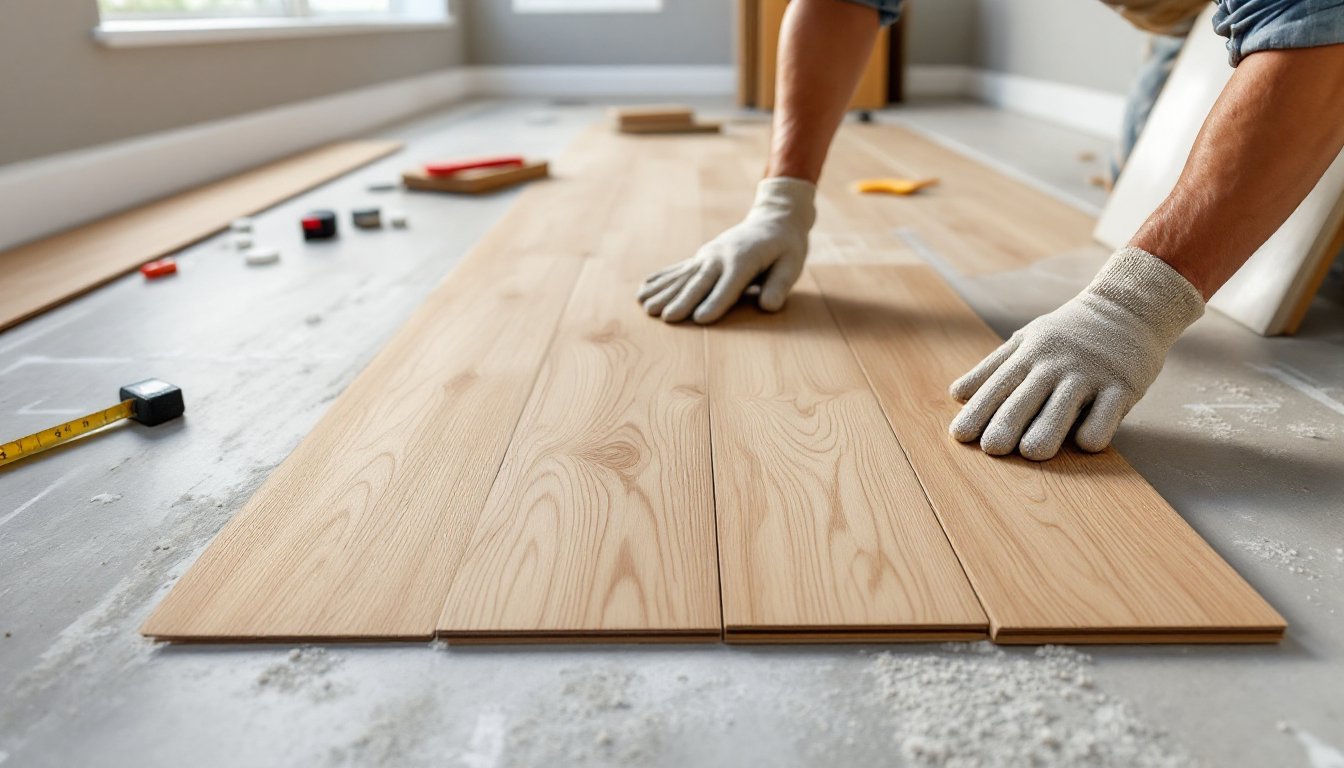
Step-by-Step LVP Flooring Installation Process
Planning Your Layout and First Row
Layout planning prevents awkward cuts and ensures a balanced look. Start by measuring the room’s width (perpendicular to plank direction) and dividing by the plank width. If the final row will be narrower than 2 inches, rip down the first row so both edges are roughly equal. Narrow slivers look cheap and are hard to lock in.
Choose plank direction carefully. Running planks parallel to the longest wall makes narrow rooms feel wider. In rectangular rooms, run planks perpendicular to the main light source to minimize seam shadows.
Snap a chalk line parallel to your starting wall, offset by the plank width plus ¼ inch for the expansion gap. LVP expands and contracts with temperature, so manufacturers require a gap around the perimeter, typically ¼ inch, but check your product specs. Use spacers along the wall to maintain this gap.
Dry-lay the first three rows before locking anything. This lets you plan seams, avoid short end pieces (minimum 6 inches for most products), and stagger joints. Stagger end seams by at least 6 to 8 inches between adjacent rows: many pros aim for 12 inches or more for a more random, natural look. Don’t create a repeating pattern (like stair-stepping or H-joints), as this weakens the floor and looks amateurish.
Start the first row with a full plank, tongue side toward the wall (you’ll cut off the tongue). Lock planks end-to-end first, then add the next row by inserting the long edge at a 20 to 30-degree angle and lowering until it clicks. You should hear and feel a solid snap. If it doesn’t lock easily, check for debris in the groove or a damaged tongue.
Cutting and Fitting LVP Planks Like a Pro
Cutting LVP is easier than hardwood or tile, but technique matters. For straight crosscuts, score the face deeply with a utility knife guided by a straightedge or speed square, then bend the plank backward to snap. Flex it back and forth if needed, then slice through the backing layer. A vinyl plank cutter makes this effortless and produces zero dust, worth considering if you’re doing multiple rooms or have respiratory concerns.
For rip cuts (lengthwise), use a circular saw, table saw, or jigsaw. Clamp a straightedge as a guide for circular saws. Cut with the decorative side up to minimize chipping on the visible surface. A fine-tooth blade (60 to 80 teeth) yields the cleanest edge.
Around door casings and trim, use an oscillating multi-tool to undercut the casing by the thickness of one plank plus underlayment. Slide the plank underneath for a clean, professional fit. Don’t try to scribe and cut around trim, it’s fussy and never looks as good.
As you progress, use a tapping block and rubber mallet to close gaps between planks. Place the block against the plank edge (never strike the plank directly) and tap gently. Over-hitting can crack the locking mechanism. For the last plank in a row against a wall, use a pull bar to lever it into place.
At doorways and transitions, install appropriate transition strips: t-molding between rooms, reducers where LVP meets lower flooring (like carpet), and end caps at exterior doors. These cover the expansion gap and prevent tripping hazards. Most snap into a track glued or screwed to the subfloor.
Many experienced installers recommend studying home renovation tutorials for visual guidance on tricky cuts and transitions, especially if you’re tackling your first luxury vinyl flooring installation. Similarly, DIY repair tutorials often include troubleshooting tips for common click-lock issues.
Common Installation Mistakes to Avoid
Even straightforward vinyl plank flooring installation can go sideways if you skip critical steps or rush through prep work.
Skipping acclimation (when required): Most rigid-core LVP doesn’t need acclimation, but check your manufacturer’s instructions. Some products still require 24 to 48 hours in the installation environment. Ignoring this can cause expansion or contraction issues.
Inadequate expansion gaps: Butting planks tight against walls or heavy furniture will cause buckling when the floor expands. Maintain the required gap (usually ¼ inch) on all sides, around pipes, and under door casings. Baseboards and quarter-round will hide the gap.
Ignoring subfloor flatness: A hump or dip of ¼ inch over 6 feet will cause planks to rock, unlock, or develop gaps. Home improvement advice sources consistently emphasize that surface prep takes longer than the install itself, and for good reason.
Poor seam staggering: Short end pieces (under 6 inches) or closely aligned seams weaken the installation and look unprofessional. Plan your layout on paper first, and always start new rows with leftover pieces (if they’re long enough).
Forcing planks together: If a plank won’t click easily, don’t force it. Check for debris, verify you’re angling correctly, and inspect the tongue and groove for damage. A damaged plank should be discarded, not wrestled into place.
Cutting with dull blades: A dull utility knife tears rather than cuts, leaving ragged edges that won’t lock cleanly. Change blades often, vinyl dulls edges faster than you’d expect.
Installing in extreme temperatures: Don’t install LVP in unheated spaces below 55°F or above 95°F. The material won’t lock properly, and you risk long-term performance issues.
Neglecting transitions: Failing to use transition strips at doorways or between flooring types leaves exposed edges that will chip and lift. Budget for transitions in your materials list, they’re not optional.
Most luxury vinyl plank flooring installation failures trace back to subfloor prep or rushing the layout phase. Take your time with these steps, and the actual plank installation will feel almost too easy. The result is a durable, attractive floor that holds up to traffic, moisture, and the kind of real-world abuse that makes DIYers glad they didn’t splurge on hardwood.