High-end bedroom design isn’t about emptying your wallet on surface-level décor, it’s about strategic material choices, layered lighting, and attention to detail most DIYers skip. The difference between a room that looks expensive and one that costs a lot comes down to understanding which upgrades deliver visual impact and which ones hide behind drywall. Whether you’re starting from scratch or elevating an existing space, these proven techniques focus on buildable, achievable luxury that lasts. No fluff, no filler, just the details that separate a nice bedroom from a genuinely high-end retreat.
Table of Contents
ToggleKey Takeaways
- Luxury bedroom ideas focus on strategic material choices, layered lighting, and meticulous details rather than expensive surface-level décor.
- A premium statement wall using wood paneling, fabric-wrapped acoustic panels, or stone veneer immediately establishes a high-end aesthetic and anchors the room’s design.
- Luxury bedrooms require multiple lighting layers—dimmable recessed LEDs, bedside sconces at 60–66 inches from the floor, and accent lighting—each on separate circuits for complete mood control.
- Upholstered headboards and high-quality textiles with proper fiber content (long-staple cotton, linen, velvet) create visual richness that reads expensive and timeless.
- Built-in millwork, custom nightstands, and integrated storage with soft-close hardware establish permanence and intentionality that elevate a space from basic to genuinely high-end.
- Strategic seating areas, such as upholstered benches and reading chairs, signal deliberate design and add functional zones without cluttering the room’s layout.
Create a Statement Wall With Premium Materials
A feature wall anchors the room and sets the luxury tone before anything else. Forget peel-and-stick solutions, real impact comes from wood paneling, fabric-wrapped panels, or natural stone veneer.
Wood slat walls (typically 1×2 or 1×3 furring strips on 16-inch centers) create vertical rhythm and acoustic softening. Stain or paint them in matte finishes: gloss reads dated. If you’re working with drywall, mount a ½-inch plywood backer first for solid attachment. Use a miter saw for clean angle cuts at corners, a circular saw works but leaves rougher edges.
Fabric-wrapped acoustic panels offer texture and sound dampening. Frame 2-inch rigid fiberglass insulation (like Owens Corning 703) with 1×4 pine, wrap in linen or velvet, and staple taut on the back. Mount panels with French cleats for a floating effect. Wear a dust mask and gloves when cutting fiberglass.
For a more permanent approach, thin stone veneer (around ¼ inch thick) applies directly over drywall with thinset mortar. It weighs roughly 8–10 pounds per square foot, so confirm your wall framing can handle it, most interior 2×4 walls at 16-inch centers are fine, but double-check if you’re covering large areas. Many homeowners pair stone with integrated luxury smart home features like hidden lighting channels.
Prep is everything: sand, prime, and fill any imperfections. Luxury is in the seamless finish, not the material alone.
Invest in a Designer Upholstered Headboard
An upholstered headboard transforms a bed from furniture into a focal point. You don’t need custom fabrication, DIYers can build one with ¾-inch plywood, 2-inch high-density foam, batting, and upholstery fabric.
Cut plywood to your desired dimensions (standard queen is 60 inches wide: king is 76 inches). Glue foam to the face using spray adhesive, then layer polyester batting over it, wrapping edges to the back and stapling every 3–4 inches with a pneumatic stapler (or manual if you’ve got patience). Pull fabric taut, wrinkles won’t disappear once mounted.
Velvet, linen, and bouclé read as high-end. Avoid thin cottons that show every wrinkle. Use 2–3 yards for a queen headboard depending on pattern repeat. If your fabric has a directional nap (like velvet), ensure all pieces run the same way.
For mounting, use French cleats or heavy-duty D-rings and toggle bolts into drywall. Headboards are cosmetic, not structural, but they should feel secure, nothing kills luxury faster than a wobbly install.
Button tufting adds depth but requires drilling through foam and plywood, then securing buttons with upholstery twine on the back. It’s tedious but delivers a tailored look. If tufting sounds like overkill, vertical channeling with evenly spaced foam strips (glued in 6–8 inch intervals) creates similar dimension with half the labor. Design-forward spaces featured on Architectural Digest often showcase these tailored details.
Layer Lighting for Ambiance and Functionality
Luxury bedrooms don’t rely on a single overhead fixture. They layer ambient, task, and accent lighting for control and mood.
Start with dimmable recessed LED cans (typically 4-inch or 6-inch diameter) on separate circuits. Install them on dedicated 15-amp circuits per NEC Article 210 to avoid overloading. Space cans roughly 4–6 feet apart and at least 18 inches from walls to prevent harsh shadows. Use IC-rated housings if you’re installing in insulated ceilings.
Bedside sconces eliminate nightstand clutter and free up surface space. Mount them 60–66 inches from the floor (measured to the center of the fixture) so light falls at reading height when seated. Run 14/2 Romex from a switched junction box, this may require fishing wire through walls. If you’re not comfortable with electrical, hire a licensed electrician. Most jurisdictions require permits for new circuit work.
Accent lighting, like LED tape under floating nightstands or behind headboards, adds depth. Use 24V LED strips for consistent brightness over longer runs. Conceal them in aluminum channels with frosted diffusers to prevent visible hot spots. Power supplies should be accessible but hidden: don’t bury them behind drywall.
Pendant lights work as soft ambient sources when hung 24–30 inches above nightstands. Ensure ceiling boxes are rated for the fixture weight (most standard boxes handle 50 pounds: heavier fixtures need fan-rated boxes).
Always wear safety glasses when drilling overhead and use a non-contact voltage tester before touching any wiring.
Choose High-Quality Bedding and Textiles
Thread count is overrated, fiber quality and weave matter more. Look for long-staple cotton (Egyptian or Pima), linen, or Tencel in percale or sateen weaves. Percale is crisp: sateen is smooth. Both feel expensive when properly finished.
Duvet covers should have hidden button or zipper closures, not ties that peek out. Interior corner ties keep the insert from shifting. Opt for king-sized duvets on queen beds for better drape over the edges.
Layering creates visual richness. Start with a fitted sheet and flat sheet, add a lightweight coverlet or quilt, then top with a duvet. Fold the duvet down one-third from the top to expose layers underneath. Add two to four throw pillows in coordinating textures (linen, velvet, faux fur). Skip the decorative pillow mountain, it’s impractical and reads dated. Inspiration from Home Bunch often emphasizes restrained layering for a refined look.
Euro shams (26×26-inch squares) lean against the headboard for height. Standard or king shams sit in front. Use pillow inserts one size larger than the cover (a 20-inch insert in an 18-inch cover) for a plump, filled look.
For window treatments, linen or Belgian flax curtains in floor-to-ceiling panels elongate the room. Hang rods 4–6 inches above the window frame and extend them 6–12 inches beyond the frame on each side so panels stack off the glass when open. Use blackout liners for light control without sacrificing fabric drape.
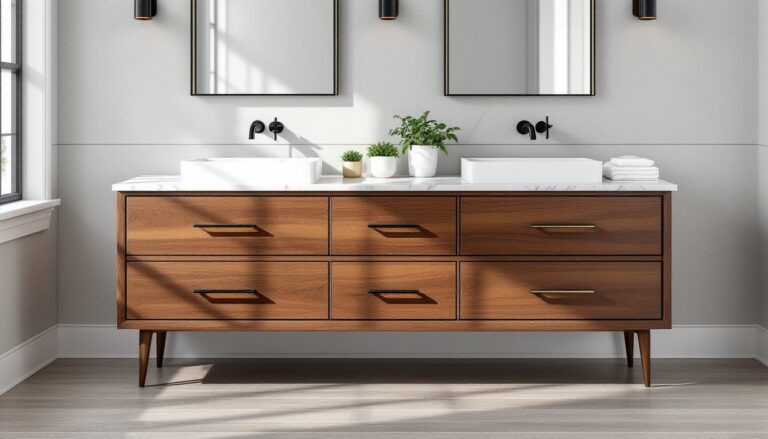
Incorporate Custom Built-Ins and Millwork
Built-in storage and millwork are the hallmarks of intentional, high-end design. They look permanent, not rented.
Floating nightstands made from ¾-inch plywood or solid hardwood mount directly to wall studs with concealed brackets or steel rods (typically ½-inch diameter, sunk 6–8 inches into studs). Finish with hardwood edge banding and paint or stain to match trim. Drawer slides should be soft-close, full-extension, anything less feels cheap.
Floor-to-ceiling wardrobes eliminate the need for dressers and create a seamless wall. Frame with 2×2 or 2×3 lumber, clad in ½-inch plywood, and finish with shaker-style doors or flush panels. If you’re building in a closet, you may need to relocate electrical outlets, this requires a permit in most jurisdictions. Drawer units inside wardrobes work best with dovetail or dowel joinery for longevity.
Crown molding and baseboard trim are non-negotiable. Use 3½-inch or wider baseboards and 3-inch or larger crown. Paint them the same color as walls for a modern look, or contrast in white for traditional detailing. Cope inside corners with a coping saw rather than mitering, they gap less as wood moves. Sand all joints and fill with paintable caulk before priming.
Built-ins in upscale homes, including luxury ranch homes, often include integrated lighting and charging stations. Run low-voltage wiring during framing for USB outlets or wireless charging pads.
Always pre-finish components before installation when possible, it’s faster and cleaner than cutting in around installed millwork.
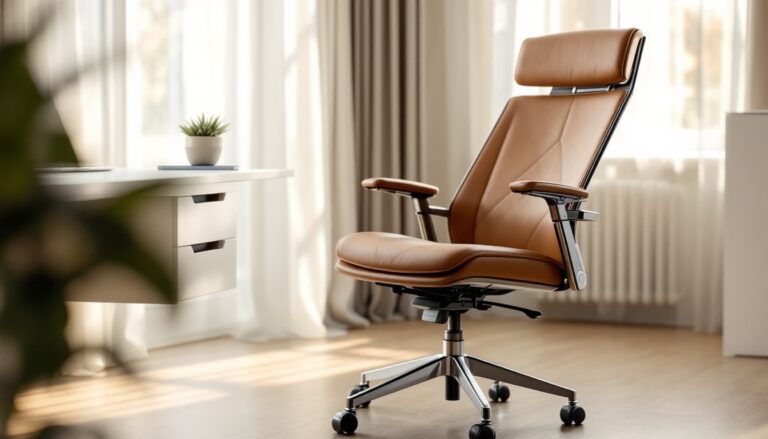
Add Elegant Seating and Lounge Areas
A bedroom with seating signals space and intentionality, not just a place to sleep.
Upholstered benches at the foot of the bed add function and softness. Build a simple frame from 2×4 lumber, top with ½-inch plywood, then foam and fabric (same process as the headboard). Legs can be tapered hardwood, turned wood, or powder-coated steel hairpin legs for a modern touch. Aim for 16–18 inches in height to align with mattress top.
Reading chairs or chaise lounges fill empty corners and create secondary zones. Pair with a small side table and adjustable floor lamp for task lighting. Avoid furniture that blocks pathways, luxury shouldn’t mean navigating an obstacle course.
If space allows, a window seat with built-in storage turns dead space into a feature. Frame a box from 2×4s, add a hinged plywood lid over storage, and top with a 4-inch foam cushion wrapped in durable upholstery fabric. Ensure the base is anchored to wall studs, especially if it spans more than 48 inches.
Area rugs define seating zones. Use a natural fiber rug (jute, sisal) layered under a smaller high-pile wool or silk rug for texture contrast. Rugs should extend at least 18–24 inches beyond furniture on all sides, undersized rugs shrink a room visually. Simple upgrades like these are common in luxury neighborhoods where design cohesion adds resale value.
Finally, incorporate practical luxuries like a tray for jewelry or glassware, lidded storage boxes, or a decorative valet stand. These aren’t strictly DIY, but selecting quality versions over disposable options contributes to the overall feel.
Conclusion
Luxury bedroom design comes down to intentional choices, premium materials, layered lighting, and built-in details that look permanent. Focus on what’s visible and tactile: walls, headboards, textiles, and millwork. Skip the shortcuts on prep work and joinery: those details separate DIY from custom work. Measure twice, invest in the right tools, and don’t be afraid to call in a pro for electrical or structural work. The result is a space that feels considered, elevated, and built to last.