Transforming a standard master bedroom into a luxury retreat doesn’t require tearing down walls or hiring a celebrity designer. It’s about strategic upgrades, quality materials, and understanding what separates hotel-suite polish from builder-grade basics. Whether planning a full renovation or layering in high-end touches, homeowners can achieve that five-star feel with the right approach. This guide breaks down the design principles, layout strategies, and upgrade paths, including DIY options, that turn an ordinary bedroom into a genuinely luxurious space.
Table of Contents
ToggleKey Takeaways
- A true luxury master bedroom combines intentional design, superior material quality, and dedicated functional zones—such as a sitting area, walk-in closet, and spa-quality bathroom—rather than relying solely on expensive furnishings.
- Premium materials like solid hardwood flooring, Level 5 drywall finishes, and properly scaled crown molding and baseboards create the craftsmanship that distinguishes luxury from builder-grade basics.
- Lighting design in a luxury master bedroom requires multiple layers—ambient, task, and accent—controlled separately through dimmers or smart switches, with statement fixtures properly sized to the room (diameter in inches should equal room length plus width in feet).
- Strategic furniture placement and layout, such as centering the bed on the longest wall and anchoring seating areas with properly-sized rugs, maximize both function and visual appeal without requiring professional design services.
- DIY upgrades including crown molding installation, custom headboards, upgraded lighting fixtures, and hardwood flooring installation can deliver authentic luxury aesthetics on a budget with intermediate carpentry and electrical skills.
- High-quality bedding and bed frames—featuring solid wood or steel construction, 300+ thread count sheets, and 700+ fill-power down—contribute significantly to the comfort and refinement expected in a luxury retreat.
What Defines a Luxury Master Bedroom?
A luxury master bedroom isn’t just about expensive furniture or trendy colors. It’s defined by intentional design, superior material quality, and attention to comfort and function.
First, scale matters. Luxury bedrooms typically offer at least 250–350 square feet of usable space, enough room for a king-size bed, seating area, and substantial nightstands without crowding. Ceilings are often 9–12 feet high, creating openness and allowing for statement lighting.
Second, the space includes dedicated zones. A sitting area, walk-in closet, and spa-quality ensuite bathroom aren’t afterthoughts, they’re integrated into the layout. These zones support daily rituals without the need to leave the room.
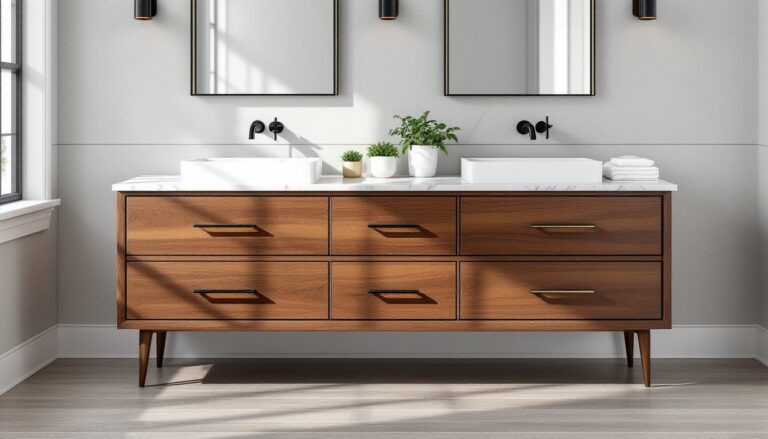
Third, material quality is visible and tactile. Hardwood or natural stone flooring (not laminate), solid wood millwork, and custom cabinetry signal craftsmanship. Luxury bedrooms avoid vinyl, particle board, and builder-grade trim.
Finally, details like custom window treatments, integrated lighting controls, and soundproofing (via insulated walls or solid-core doors) show refinement. These elements aren’t flashy, but their absence is immediately felt.
Essential Design Elements for a Luxury Master Bedroom
Premium Materials and Finishes
Flooring sets the foundation. Solid hardwood (3/4-inch oak, walnut, or maple) is the standard, with wide planks (5–7 inches) delivering a more modern, upscale look. Engineered hardwood works in climates with humidity swings, but avoid anything thinner than 3/8 inch with a 1/8-inch wear layer. Natural stone or porcelain tile (especially heated) suits contemporary builds.
Wall finishes should be smooth and flawless. That means skim-coating drywall to a Level 5 finish before painting, eliminating joint lines and imperfections visible under raking light. Use low-VOC, zero-sheen paints in neutral tones, Benjamin Moore Regal Select or Sherwin-Williams Emerald offer durability and washability.
Crown molding and baseboards matter more than most DIYers expect. Upgrade from 3-1/4-inch colonial base to at least 5-1/4-inch or taller, and run crown molding at 4–6 inches. Use solid wood or high-density MDF primed on all sides to prevent warping. Miter cuts must be tight, use a 12-inch dual-bevel miter saw for clean angles.
Window and door casings should match in profile and scale. Consider craftsman-style or shaker trim in 3–4-inch widths. Replace hollow-core doors with solid-core or solid wood doors: the weight and sound-dampening make a noticeable difference.
Statement Lighting and Ambiance
Lighting in a luxury bedroom works on multiple layers. Ambient, task, and accent lighting should all be dimmable and controlled separately, ideally via a smart switch or Lutron Caséta system.
Start with a statement fixture: a chandelier or oversized pendant centered over the bed or seating area. Size it properly, diameter in inches should equal room length plus width in feet (e.g., a 12×14-foot room needs a roughly 26-inch fixture). Hang chandeliers 30–34 inches above the mattress if ceiling height allows.
Task lighting includes swing-arm sconces or pendant lights flanking the bed (mounted 24–30 inches apart, 18–24 inches above nightstand height). Use LED bulbs at 2700K–3000K for warm, flattering light. Avoid overhead cans directly above the bed, they cast unflattering shadows.
Accent lighting highlights architecture or artwork: LED strip lights in cove molding, uplights behind drapery, or picture lights over large-scale art. Use a dimmer to dial in the right mood. If retrofitting, low-voltage tape light (12V or 24V) is easier to wire than line-voltage options.
Recessed lighting should be on separate circuits from decorative fixtures. Space 6-inch cans roughly 4–6 feet apart and keep them at least 18 inches from walls to avoid harsh scalloping. Consider adjustable trims to direct light where needed.
Creating Your Luxury Bedroom Layout
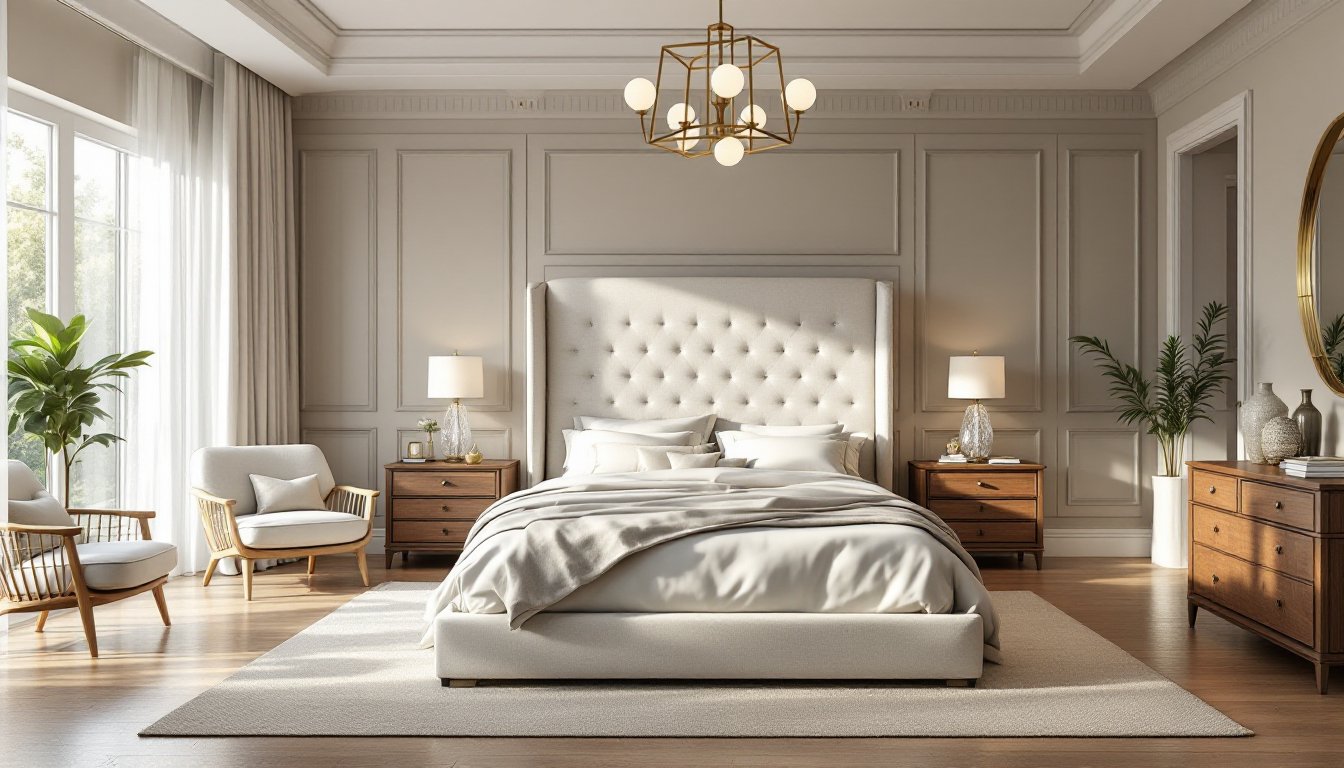
Layout dictates flow and function. Start by centering the bed on the longest uninterrupted wall, ideally opposite the entry so it’s the focal point. Leave at least 24–30 inches of clearance on each side for nightstands and easy access.
If space allows, float the bed away from the wall by 6–12 inches and add a low console or upholstered bench behind it. This breaks up the wall-to-wall look common in smaller rooms.
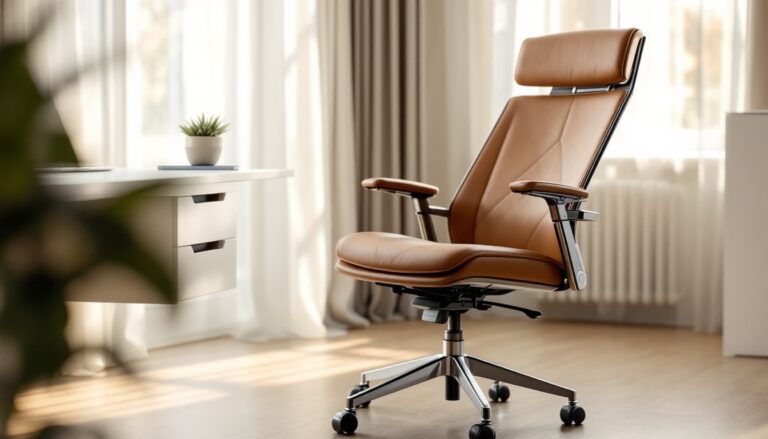
Seating areas belong in corners or near windows, not crammed against the foot of the bed. A pair of lounge chairs with a side table or a small loveseat and ottoman create a usable zone. Anchor it with a rug (at least 5×7 feet) to define the space visually.
Closets and storage should be part of the room’s architecture, not freestanding furniture. Walk-in closets with custom built-ins (adjustable shelving, soft-close drawers, and LED-lit hanging rods) are the gold standard. If adding a walk-in, budget for at least 5×7 feet of interior space, anything smaller feels cramped.
For rooms without space for a sitting area, consider a window seat with built-in storage or a tufted bench at the foot of the bed. These add visual weight and utility without eating up floor space.
Pay attention to door swings, drawer clearances, and traffic paths. A luxury bedroom shouldn’t require furniture shuffling to open a closet or navigate to the bathroom. Mock up the layout with painter’s tape on the floor before committing to furniture placement.
High-End Furniture and Bedding Choices
Bed frames in luxury bedrooms are substantial, upholstered headboards in linen or velvet, solid wood platforms, or canopy frames with clean lines. Avoid anything with visible particleboard, plastic hardware, or flimsy slat systems. A quality frame uses hardwood or steel construction and supports the mattress without squeaking or sagging.
Nightstands should be proportional: 24–30 inches tall (level with or slightly below the mattress top) and wide enough to hold a lamp, phone, and book without crowding. Look for dovetail joinery, soft-close drawers, and finishes that match or complement the bed.
Mattresses are deeply personal, but luxury often means hybrid or latex construction over all-foam. Brands like Saatva, Avocado, or WinkBeds offer 12–14-inch profiles with zoned support and natural materials. Budget $1,500–$3,000 for a quality king.
Bedding layers matter as much as the mattress. Start with a 300+ thread count cotton sateen or percale sheet set, Egyptian or Supima cotton resists pilling. Add a duvet with a 700+ fill-power down insert or a high-quality down alternative. Top with a coverlet or quilt for texture.
Pillows should vary: firm for side sleepers, medium for back, soft for stomach. Mix European shams (26×26 inches) behind standard shams for that layered, designer look.
Dressers and armoires should be solid wood with full-extension, soft-close drawer glides. Cheap drawer boxes (stapled thin plywood or cardboard bottoms) are telltale signs of low-end furniture. Inspect joinery, dovetails or mortise-and-tenon connections outlast glue and staples.
DIY Upgrades That Deliver Luxury on a Budget
Not every luxury touch requires a contractor. Homeowners with intermediate skills can tackle several high-impact upgrades.
Install crown molding and upgraded baseboards. Material cost for a 12×14-foot bedroom runs $150–$300 using primed MDF. Rent a 12-inch miter saw if needed. Cope inside corners for tight joints: caulk and paint carefully. This upgrade visually lifts ceilings and adds architectural interest found in luxury mansion living.
Add a feature wall. Shiplap, board-and-batten, or picture frame molding (creating raised panels) elevate a plain drywall surface. A board-and-batten accent wall behind the bed costs $200–$400 in materials (1×4 or 1×6 primed boards, construction adhesive, finish nails). Use a brad nailer and level, nothing kills the look faster than crooked lines. Many homeowners find inspiration for these details on sites like Home Bunch, which showcases interior design ideas.
Upgrade lighting. Swapping builder-grade fixtures for a statement chandelier or sconces is straightforward if the electrical box is rated for the weight. A 50-pound fixture requires a fan-rated pancake box secured to a ceiling joist or blocking. Wire with 14-gauge Romex (or 12-gauge if on a 20-amp circuit) per NEC standards. If running new circuits, hire a licensed electrician, bedroom lighting usually shares circuits, and overloading can trip breakers.
Install dimmers. Replace standard switches with Lutron or Leviton dimmers (about $15–$40 each). Turn off power at the breaker, verify with a voltage tester, and follow manufacturer wiring diagrams. Dimmers work with most LED bulbs labeled “dimmable,” but check compatibility to avoid buzzing.
Refinish or paint furniture. Strip and stain a solid wood dresser, or apply a fresh coat of Benjamin Moore Advance (a water-based alkyd) in a satin finish for a smooth, durable result. Sand between coats with 220-grit paper. This transforms thrift-store finds into custom pieces.
Soundproof doors and walls. Replace hollow-core doors with solid-core slabs (around $100–$200 each). Add weatherstripping and a door sweep to block sound gaps. For walls, remove drywall and add Roxul Safe’n’Sound batt insulation between studs, then reinstall drywall with Green Glue dampening compound between layers. This is a weekend project but requires drywall finishing skills.
Build a custom headboard. Cut a plywood backer (3/4-inch), add 2-inch foam padding and batting, then staple fabric (linen, velvet, or faux leather) taut across the back. French cleat it to the wall for a clean, floating look. Total cost: $100–$250 depending on fabric choice.
Install hardwood or luxury vinyl plank flooring. Engineered hardwood (3/8-inch with a click-lock system) can be floated over existing subfloor if it’s level within 3/16 inch over 10 feet. Use a table saw or miter saw for cuts, underlayment with moisture barrier, and leave a 1/2-inch expansion gap at walls. Budget $3–$8 per square foot for materials. If the subfloor is plywood and structurally sound, this is a capable DIYer project: if joists are sagging or there’s water damage, call a contractor.
Add custom window treatments. Measure carefully (inside mount vs. outside mount changes dimensions) and install ceiling-mounted drapery tracks or rods for a tailored look. Use blackout-lined panels in high-quality fabric. Hem to 1/2 inch above the floor for a polished finish. Curtains that puddle or hang too short look unfinished.
Safety notes: Always wear safety glasses and hearing protection when using power saws. Use a dust mask when sanding or cutting MDF (the dust is fine and irritating). Turn off power at the breaker, not just the switch, before working on electrical. If a project involves structural changes, load-bearing walls, or gas lines, consult a licensed professional. Most jurisdictions require permits for electrical work beyond simple fixture swaps, so check local codes before starting.